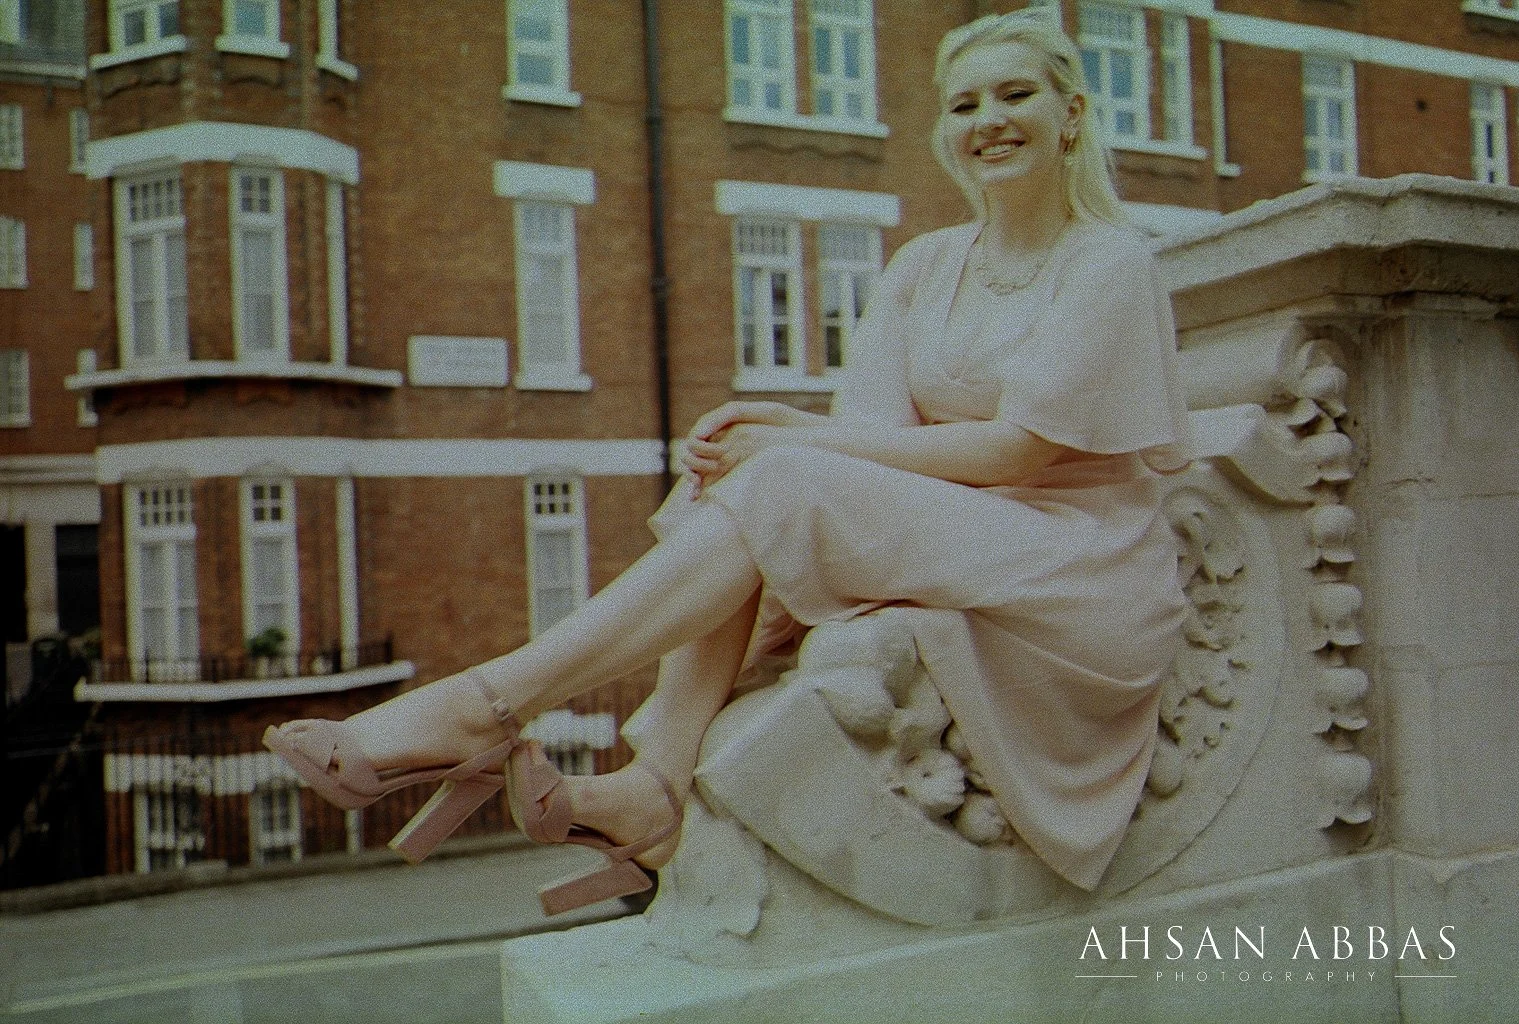
Provia 100F on Nikon FA

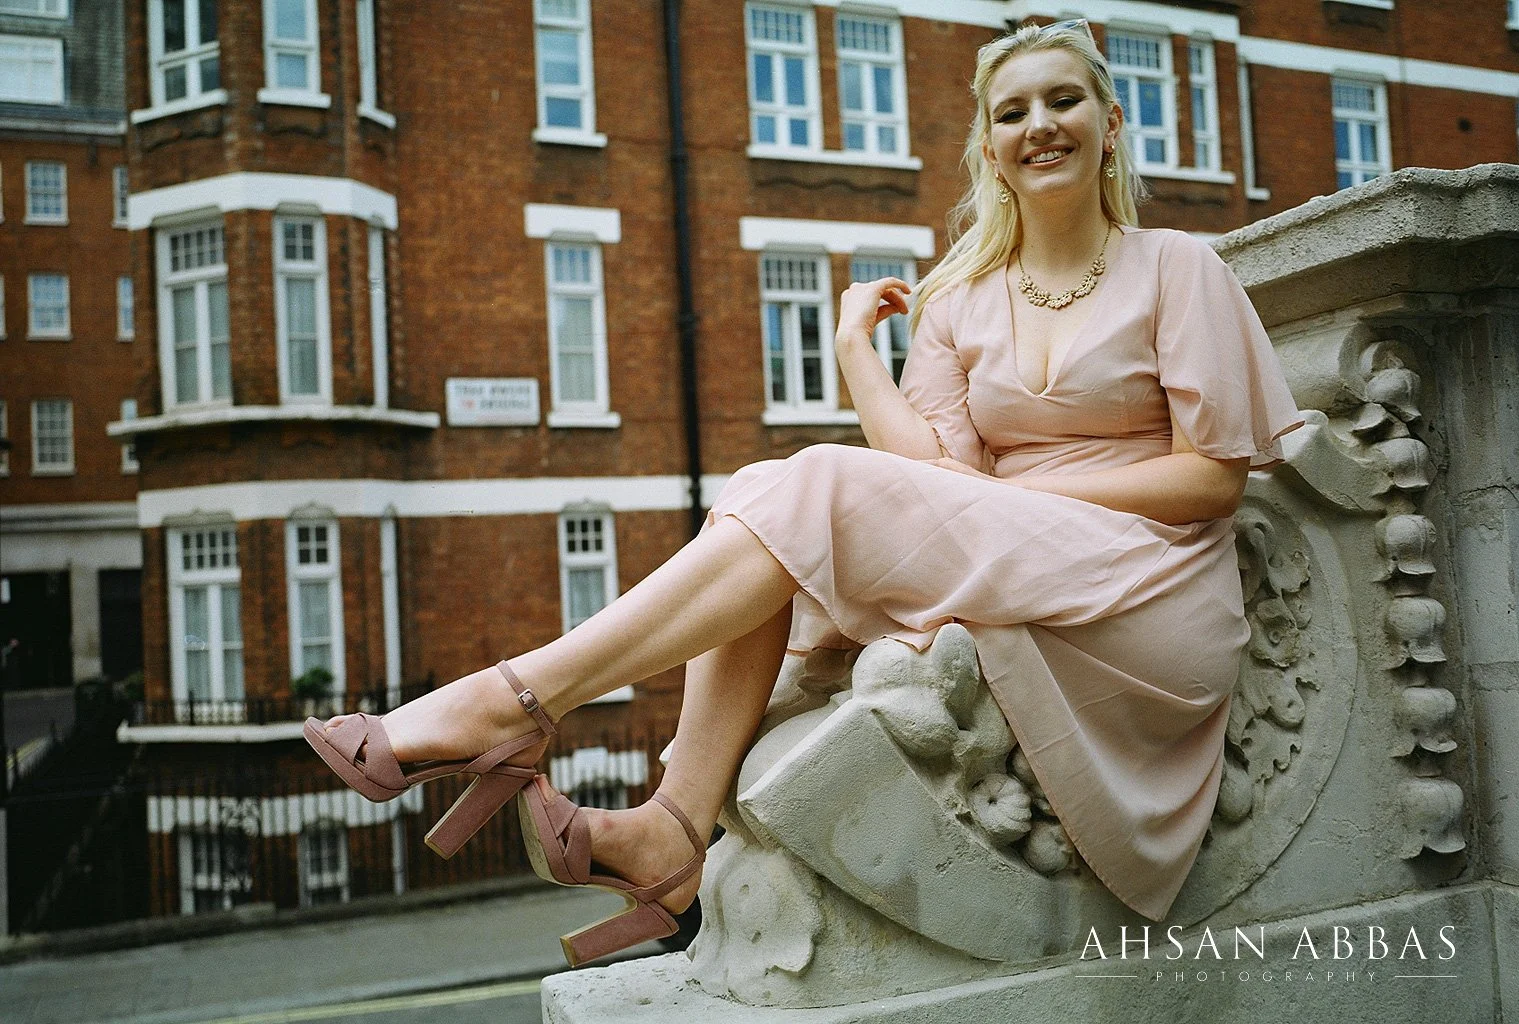
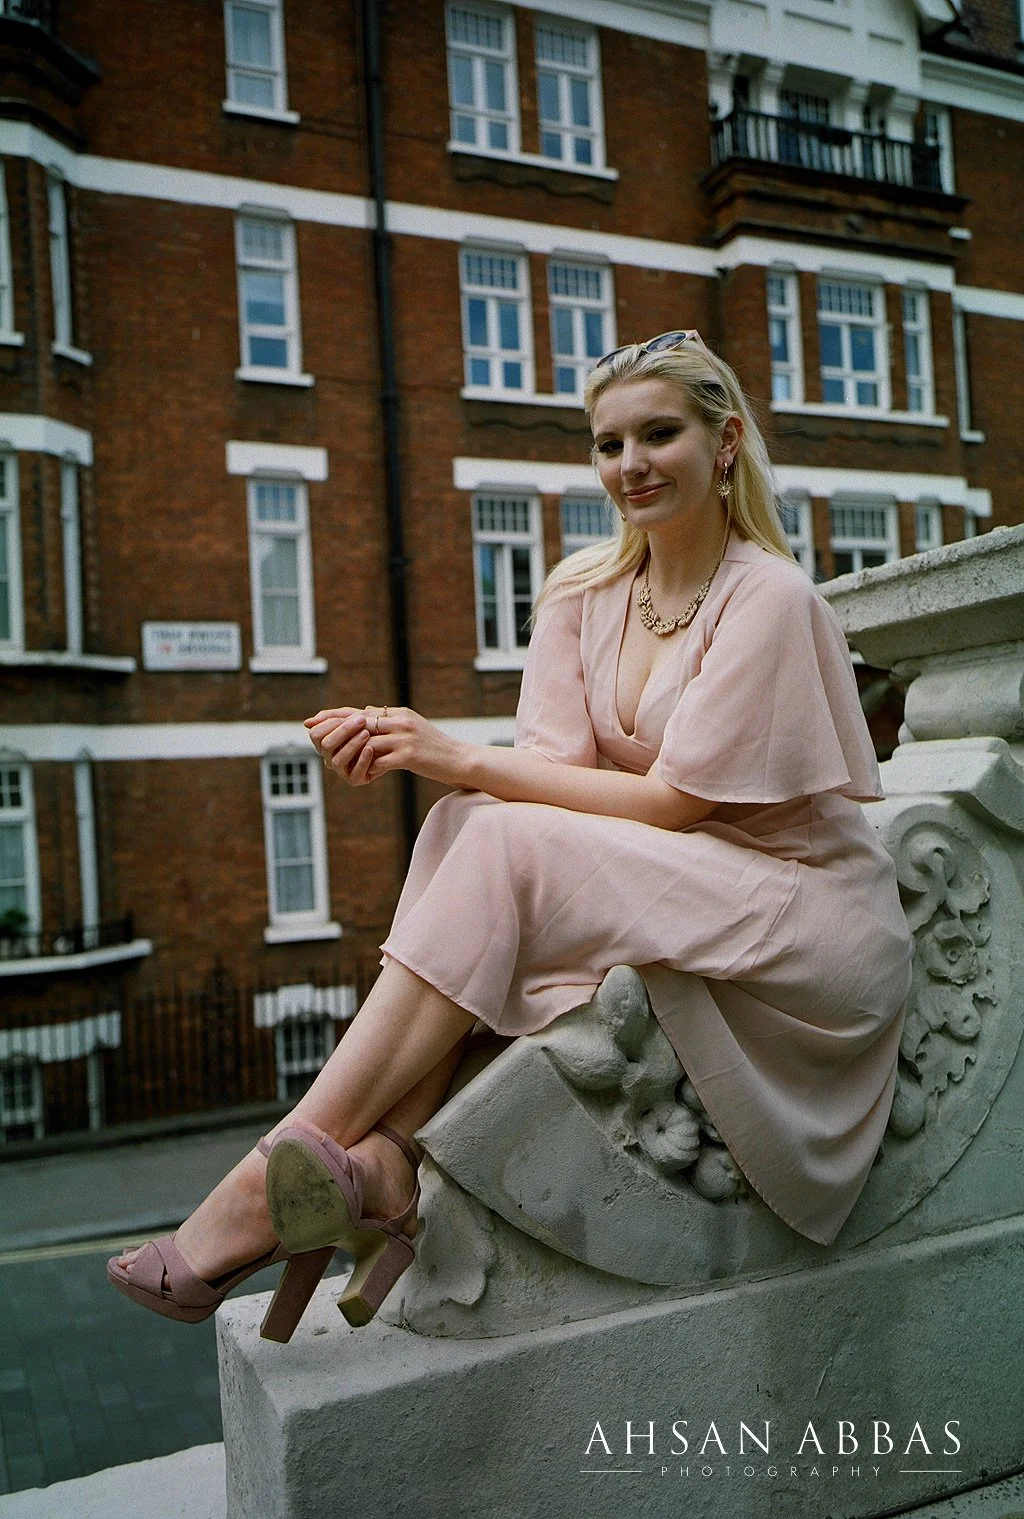
Back out on the water again testing Provia 100F which typically is recommended for portrait photography. I thought why not see how it looks for urbanscape photography?''

5 key features for this film stock

  1. it provides super-fine grain making life a breeze when enlarging prints.

  2. You will get highly accurate colour reproduction

  3. If you meter correctly you will get very accurate highlight to shadow linearity

  4. This could be a good choice for long exposure photography and multiple exposures

  5. Want to shoot in low light conditions then you can push process 1/2stop up to 2 stops with a small amount of variation in colour balance and degradation

Key Features

If you like the fine sharpness of digital photography and would like to return to film then this film could be a good choice. Shooting at ISO100 this colour reversal film will give you an extremely high level of sharpness, capturing the details with extreme clarity combined with wonderfully vibrant colours.

Film Speed

If this is your first time shooting slide film, shoot it at box speed whether it's on 35mm, medium format or large format. It’s the only way to truly find out what works best for you in the conditions you are shooting them in. After shooting a roll in different conditions, you can review them after processing to see which images resonate with you best. Now, you want to consider some push processing to see how the results will vary.

Exposure Guide

You should be good to go with the age old recommendation of shooting sunny 16. However bear in mind that these settings are determined for 2 hours after sunrise and 2 hours before sunset! Adjust accordingly using a light meter before and after these times so you can ensure the best results.

As you are watching these wonderful images scrolling, you might want to consider the following added things I have learned from shooting this film.

If you are out shooting casually in these conditions, perhaps on a beach, open water or even snow, anything with large reflective surfaces, then set your aperture to f/16 and you’re good to go. If you are standing in the middle of the street then, f/11 is sufficient, in extremely well lit conditions.

In hazy sunlight consider moving down to f/8 and if there is considerable cloud coverage, then, f5.6. If you’re in the shade or shadows and your camera allows it, then f/4.

Depending on your circumstances and experience with shooting slide films, you may want to adjust up or down ½ a stop during summer or winter.

If you are shooting indoors, perhaps, backlighting a subject then you may need to go up or down 1 stop in your aperture adjustments. Also, if you are shooting in extremely bright or dark conditions then you may want to adjust your lens plus or minus one stop.

All these numbers may sound confusing and complicated. You can save yourself a mind bend by using a dedicated light meter such as the Sekonic L-308X. The amount of times I have mentioned this brand you’d think I’m cutting a cut!

Best Filters

As you can see from my images, some of these have been exposed to extremely bright conditions.

If you are shooting in seaside locations, snowy landscapes in Alaska or distant bright views as you can see from these images, or even closeups or plants or portraits it is advisable to use a UV filter Number 2C.

For bright cloudy conditions, you can use a Wratten No.81A Filter and make an appropriate aperture adjustment plus 1 or 3 stops.

For early morning or twilight portraits use a Number 82A or Number 82C filter and adjust aperture stops again plus 1 or 3 stops.

Shooting with Electronic Flash

I have shot with Provia on Medium Format several times, the results have been very good when exposed correctly. However, I strongly suggest getting lots of practice with studio lights.

The advantage of working in a studio is you have a great degree of control over the lighting, so you don't want to flood your subject with too much or too little. Most modern studio lighting equipment is very very reliable and gives you a very consistent light.

If you are using fluorescent lamps you will have to adjust your exposure by one stop for white, daylight and cool white and 2 and 1/3 of a stop for warm white.

Use a Wratten Filter No.80A along with a 1 2/3 lens stop increase, when using 3200K tungsten lighting.

For household tungsten lighting such as room lamps which are the main source of lighting, you will need to use both a Wratten Filter No.80A and a Wratten filter No.82A, plus an aperture increase of 2 stops.

Storing your film

Serious analog photographers know the value of film and the value of their pockets. You can ofcourse store your film wherever you want but if you’re not sure when you might be using your film or even use it sparingly, then make sure you store it appropriately.

If you are going to be using it for up to 3 years then stick it in the fridge out of an abundance of precaution. Anything beyond that stores below 0C or 32F, i.e. in a freezer. If taking film out of a fridge, leave it in room temperature conditions for at least 2 hours before shooting with it. Obviously use your usual good sense when defrosting film from a freezer!

Multiple exposures

Great news for those of you doing long and multiple exposures. You don't need to exposure correct or colour balance within 1/4000 to 128 seconds shutter speed ranges. However beyond this you will need to expose correctly and colour balance as required.

Processing Film

You will need to use E6 chemicals when processing this film. If you enjoy experimenting then you can also cross-process colour negative films with E6 which will give you a colour positive image but likely with an orange base.

Retouching/editing your film

This is really down to you as an individual. However you may want to consider doing this if the highlights are too bright or you would like to lift a little bit more out of the shadows. Typically with film, it is very difficult to pull information out of the shadows so just be aware of this when metering for your subject or landscape.

Why Printing is your work is important

Regardless of what is happening around us, we are living in unique times. A time when we have access to our photos at any point on our phones! Yet, how many of us have our images where we can see them in our daily lives or even to feel in our hands. Take the time to pick out your best images and perhaps make an album or even a book out of them. They’ll bring you joy in a very different and tangible way.

Final reflections

Provia 100F is certainly one of my favourite slide film stocks. One of the main reasons why I love this film so much is because you can see the results of your work right there in front of you. Unlike film negatives you can relive those moments without having to scan your work [that is if you don't want to].

Photographers often associate this film stock with fashion or portraiture work but there’s absolutely no reason why you should use this film for other work from product to natural landscapes. In fact, I think with large positives available in medium format you could take some wonderful landscape images.

Subscribe to my YouTube Channel here for more tips on shooting with film

First Fashion Shoot with the Bronica Zenza ETRS A Throwback Story

A throwback to one of my first outings with my Bronica Zenza ETRS and Jacqueline. We chose to head over to the centre of brutalist architecture, the Barbican Estate. 

We shot two different looks around the estate. The first one was this red number. One of the most enjoyable things about film photography is the range of different ways you can shoot with different cameras. The waist level finder on the Bronica offers new ways of approaching your subject to shoot with. The key thing to when you are uncertain, is to focus on going fully head on with it. 

In these images you can see that I was shooting at first from very straightforward positions. Here’s one with Jacqueline standing in the middle of the road, as we use the dotted lines for framing the image. 

I then changed perspective at got as close as possible to Jacqueline shooting from above as she rested against this pillar. The theme continued with finding new ways of taking the image from angles which are often unlocked. 

Taking the shot from this position was a little tricky, climbing in to position. I made sure I was safely within my boundaries, If I stepped too far forward, it would be a hospital visit forsure. When shooting film, you don’t know how it will turn out so it forces you to compose the image in detail before you shoot away. 

Adrenaline running I thought of new positions to get in to which would be tricky. I walked an incredibly narrow strip of wall to capture this image, precariously balancing on the edge to capture this image of Jacquiline resting across the steps. Again, pleased with the outcomes with the relative risk involved. 

Finding unique bits of art to shoot with or on are tricky and hard to find sometimes. Jacquiline is a free spirit and was keen to create so without hesitation took off her heels and walked across to climb up this sculpture. Her long profile and top to toe works well, especially with the green and red contrast. Next time you are out shooting, think of different ways of capturing images and move your feet too. 

With a few minutes remain Jacquiline jumped in to this black and white look and we shot some fun stills to end the day and shoot! 

All film images were taken on the wonderful Bronica Zenza ETRS Medium Format Camera with 75mm lens.  

You can learn more about my wider photographic work by subscribing to my YouTube Channel. See you there!

Classic Car And Portraits Shoot

Alright mate, do you fancy shooting with a classic car sometime? 

I just finished up a shoot in Central London with my group as this gentleman asked what I was up to. We got talking and it turns out that Wayne had an incredible original Ford Escort parked up at home. We exchanged numbers and arranged a time to set up a shoot. 

On the day, I had lined up another shoot with Maria. As always a dream to work. As we were shooting some riders on Ducati’s turned up. We headed over as they had parked up for a break, got chatting and before we knew it, had maria posing with the bikes! 

Changed up locations and finished of the shoot with these wonderful images taken on film. 

Wayne texted me to say he was almost there as the workshop came to a close. We darted over and there was the incredible Ford Escort. Maria prepared her outfit and started looking at how to light up the car from different angles and positions. 

We worked our way around the car using an Profoto Off Camera flash. I shot on BW and Colour films. Overall, really grateful to Wayne reaching out and bringing in his car for us to shoot with. Would love to set up another shoot soon and see what else can capture with this beauty!

All film images were taken on the wonderful Bronica Zenza ETRS Medium Format Camera with 75mm lens.  

You can learn more about my wider photographic work by subscribing to my YouTube Channel. See you there!

Getting Results With 30 Year Old Expired Film Worked

Getting Results With 30 Year Old Expired Film Worked

This video explains how well decades old expired film performs on a medium format camera - Fuji GSWiii. The images in broad daylight render very well considering the age of the film and the poor conditions that it had been kept in. The film performs well in extremely low light conditions too when the camera is set to a very wide aperture and slower shutter speed.

Read More

Shooting Portraits with Carla in Bath

The perfect chemistry for a shoot involves; great planning, choosing the right subject or model and of course the location to match.

Bath is certainly one of my most favourite places to shoot. An old Roman era city, today most of the buildings are made from oolitic limestone giving them the classic feel.

It's a beautifully warm summer day and we headed out from London early to head to the city. We would be shooting a summer look in the morning, early afternoon. Stopping for a quick lunch and then shooting some vintage 60s before finishing up with some wonderful late afternoon bohemian styled set.

The light was strong and the heat intense by early afternoon and we found some respite in this covered arch by the River Avon. I love how the light is falling through casting a shadow and reflecting back off the floor. Carla’s outfit choice is spot on and we took very many wonderful images both on film and digital.

Lunch came at the peak of the heat as we settled for a well earned rest. The heat wasn’t going to subside much so we ended up shooting in narrow path ways in this old quarter of the city. The vintage 60s look put together by Carla was on point. Here we used some off camera flash to add a little more light to the image as there was a strong shadow cast over here.

We had scouted out a few locations in advance and found this wonderful spot with cobblestones and oolitic limestone columns for out last set in the late afternoon. Carla flipped in to this wonderful bohemian style dress with a crown to match. I particularly enjoyed how the images came out on black and white. Although the steal for the day were final few portraits taken with a golden reflected adding the final piece of magic to these image taken on Kodak Portra.

All film images were taken on the wonderful Bronica Zenza ETRS Medium Format Camera with 75mm lens.

You can learn more about my wider photographic work by subscribing to my YouTube Channel. See you there!

Throwback to one of my favourite group shoots

This is a throwback to an old shoot . This was an absolutely fabulous shoot for so many different reasons. 

One photographer had access to this wonderful location and suggested as a possible place to shoot. Another photographer arranged for drinks, another brought their flash softbox as of course I arranged for my flash equipment, tripods etc and of course wonderful Emily to join us. The outcome: everyone working together to help capture some timeless and incredible images. 

There were so many different options available, shooting in the floral garden area with the backdrop of St Pauls in the background. On the other side, a view of the Shard and below you could see the trains running by. Choosing to shoot in the evening helped further, even though we had some overcast weather, the sun did strike through on occasion to create some gorgeous back lighting creating even more ethereal looking portraits with the plants in the foreground. 

Evening ended with some lovely City of London landscape views so I took the opportunity to take out my 24mm prime lens and took a few quick snaps before the garden closed up. 

You can learn more about my wider photographic work by subscribing to my YouTube Channel. See you there!

Every Street Fashion Shoot I Am Improving With My Rangefinder

After a first set of good results with my Fuji GSWiii, from the shoot with Anna, I organised a group shoot with Luise back in Central London.

I hadn’t seen these togs for quite some time so it was a great opportunity to catch up and enjoy some photography together.

I chose to shoot some Ektachrome and Kodak Gold in today's outing and we started off outside Bank.

When I turned up, I found a commercial shoot going on which looked pretty intense and another tog with her makeup artist taking shots on the steps.

Luckily the commercial group were wrapping up and they were on their way out. Perfect time for us to swoop in and start taking shots!

With only 8 frames to each roll of film, the 6 by 9 film size is incredible to view, especially on colour positive film.

I was confident that Ektachrome would perform well today given the lighting conditions. There would not be a need for off camera flash today.

How to Shoot with Rangefinders in Bright Sunny Conditions

First shot, super overexposed, unfortunately something to carefully consider for next time. In the broad strong sunlight perhaps underexposing by a stop or two may help to resolve this issue.

The second shot performed better although there appears to be a blue tinny cast to the image. I’m not exactly sure why this is. If you know or have a hypothesis I would love to hear it in the comments below.

The sunlight was exceptionally strong today and at times difficult to keep your eyes open without some sunnies on.

In this shot, I asked Luise to close her eyes and imagine something longingly while resting on the stairs.

The whites have come out brilliantly white and probably has been compounded by the whitish reflection off the stairs too.

Key takeaway here is to avoid bright white clothing in bright sunny daylight conditions!

A momentary shade and this image was captured spot on. I like the way Luise is looking down the barrel of the camera but also how arms and legs are creating triangular shapes which adds to the compositional balance of this image!

It’s also good to see the highlights not being blown out and the colours in this frame have come out remarkably accurately!

How to Posing Tall Subjects and why your positioning and lens choice matters

A quick side note here, be careful when posing tall subjects. Shooting from a low angle will accentuate the profile of your subject whereas shooting from a higher angle will exaggerate the torso and shorten the legs.

If your focus is on the head and chest of the subject then shooting from above would be recommended but for full length shots this should be avoided. This is mainly because your shot will compress the subject’s profile creating unflattering results.

To get the best results, use an appropriate lens which flatters the subject. In my case, I was working with a fixed 65mm lens, which is equivalent to a 28mm lens on a 35mm camera.

That is a relatively wide angle lens. Perfect for street photography but one to carefully use if shooting portraits.

Ultimately, a great pose is captured in camera with the combination of the right camera angle, body position, and focal length!

Got Luise to lay back for the next shot and you can see immediately the sun was back out in full force. Slide film scanning is proving to be quite a challenge, but with practice this will improve further.

We finished off at the steps with this shot. A reflector or an translucent umbrella would have helped reduce the amount of light falling on Luise but I like the pose again as is, the use of triangles but also the columns in the background accentuating the height or sense of scale in the image.

We decided to move away from the stairs and took some on this bench. This image has come out almost tack sharp and the image looks fantastic on this slide.

Working with large rangefinders can be tricky, however, you may have noticed the image has been a bit cropped off at the bottom.

To avoid such errors with these cameras give yourself a little bit more space within the frame in your visor. The more you shoot with this camera or similar ones, the more skilled you will become. It’s all about continually mastering your craft!

A follow up shot with Luise sat down looking into the distance. Again the colour reproduction here is absolutely spot on with the general tones of the outfit and setting creating a fitting vibe.

We changed it up a little again trying to get some more shade going down into the underground however, it was a little tricky here and whilst the colour reproduction was good I was working on f5.6 with shutter speed of 1/30sec which has added a little motion blur to the image.

The final shot was taken with Luise resting her arm on the railing, a slight miscalculation of the distance has given this image a bit of a defocused look.

I found Kodak Gold 120 to be very reliable

I switched up to shoot some Kodak Gold, colour negative film, which tends to be a little more forgiving. Be sure to check out my previous videos on Kodak Gold.

I have found it to be very reliable and brought some along as a substitute just in case I had completely blown the first set on Ektachrome

Luise was a superstar and switched up her outfits in no time. We got to shoot with her in this bold yellow outfit which was spot on!

I really like this image of Luise standing in the middle of the road. Don’t be deceived by the white lines, that is the bike lane in this extremely narrow road.

It was a case of darting in and out to shoot here but we got the shot! Don’t do this unless you have someone watching your back! Thank you Marcus!

Next time, I would move in much closer because the focus of the image is Luise and not the surroundings.

Moved back to the tiny sidewalk and took this full body portrait. Kodak Gold does have a tendency to leave this warmer tone, which in this case added to a late afternoon feel.

With time pressing, I took these two quick shots again focusing on full body composition and then moving in for a closer shot before finishing off with a relaxed pose on the wall.

How to setup your rangefinder to get the best images every time

Overall, this was the second time out shooting fashion with my Fuji GSWiii. Biggest learning from this shoot was that I needed to carefully consider the settings in strong sunlight.

Even with light metering you will need to carefully consider the type of film you are shooting with. Moving into a little more shaded location would perhaps have resulted in more reliable outcomes on this slide film.

I am sure you have lots of your own photos, how often do you spend reviewing them? You have seen that I make lots of mistakes too but the key here is to go back and reflect on your work.

By doing this, you will be able to make those incremental improvements.

With time, your images will become even better, so when you come back to look at your first photographic work, you’ll look back to see how far you have come!

If you are new to shooting with the Fuji GSWiii or similar cameras then it takes some practice to get your distances spot on too. It can be a little tricky using the rangefinder to focus accurately.

Try not to put too much pressure on yourself with time limitations. This is so you can be more considerate with your actual distances between you and your subject. Therefore making sure you get the sharpest image possible every time.

This particular Fuji comes with a fixed 65mm lens and if you enjoy shooting street photography it could be a fun companion with its 28mm, 35mm camera equivalent lens. I’m curious how an actual Leica would feel like shooting with, perhaps one day!

Although primarily known for landscape photography, the Fuji GSWiii has the potential to give photographers new creative opportunities in portrait photography.

I think in future shoots I’m going to try and get in more closer shots to see how the image reproduces.

Overall, once again I feel the closer I was shooting to Luise, the richer the details in each of the frames. Next time, avoid bare sunlight too!

With more shoots I will slowly find my preference, Let’s see where this takes me next!

Want to stay in the loop with what I am up to and my work? Keep coming back to ahsanabbas.com/journal

For more videos subscribe and turn on the notifications for your weekly video drop!

Use Props to Create Incredible Photographs

In the previous blog post I discussed the importance of communication with your model so you can capture the best images possible for your portfolio. 

Planning in advance is important from your position to. Knowing what the model will be wearing from top to bottom will give you the opportunity to create in advance. Take for example this picture. Emma is holding this Eastern Umbrella which I found in a market. Knowing she was jumping in this striped outfit I noticed the similarities in colour and put the two together. 

I like these sets of images because there's a blend of so many different cultures and environments. A mixture of the brutalist architecture of the Barbican Estate combined with Eastern elegance through a western dance movement and outfit. 

Photography is a joyful activity and as such should be treated in a complimentary way. Have a look around at home what little props you might be able to add to your shoot. It doesn’t need to be big, something small and light to carry will come in handy diversifying the images you take. Have a scrummage around, see what you find and get shooting! 

You can learn more about my wider photographic work by subscribing to my YouTube Channel. See you there!

Velvia 50 on Nikon FA

Velvia 50 on Nikon FA

A review of Fuji Velvia 50 35mm Film. In this video I will explain its key features of this film and it's film speed. I will go through what formats the film is currently available in and which are being discontinued by 2023. Through the images you will see how the film performs in bright sunny conditions and I will explain how you can get the best results in different conditions. I will go through the right filters to use to get the perfectly balanced image every time from bright daylight to twilight portrait conditions. Finally, I will go through how to process, scan and make your prints.

Read More

What is important in Headshot Photography?

I have gone through several iterations of this image. The question in the back of my mind is, what is the purpose of this image, who is this for, who is viewing it, what impression does it strike. 

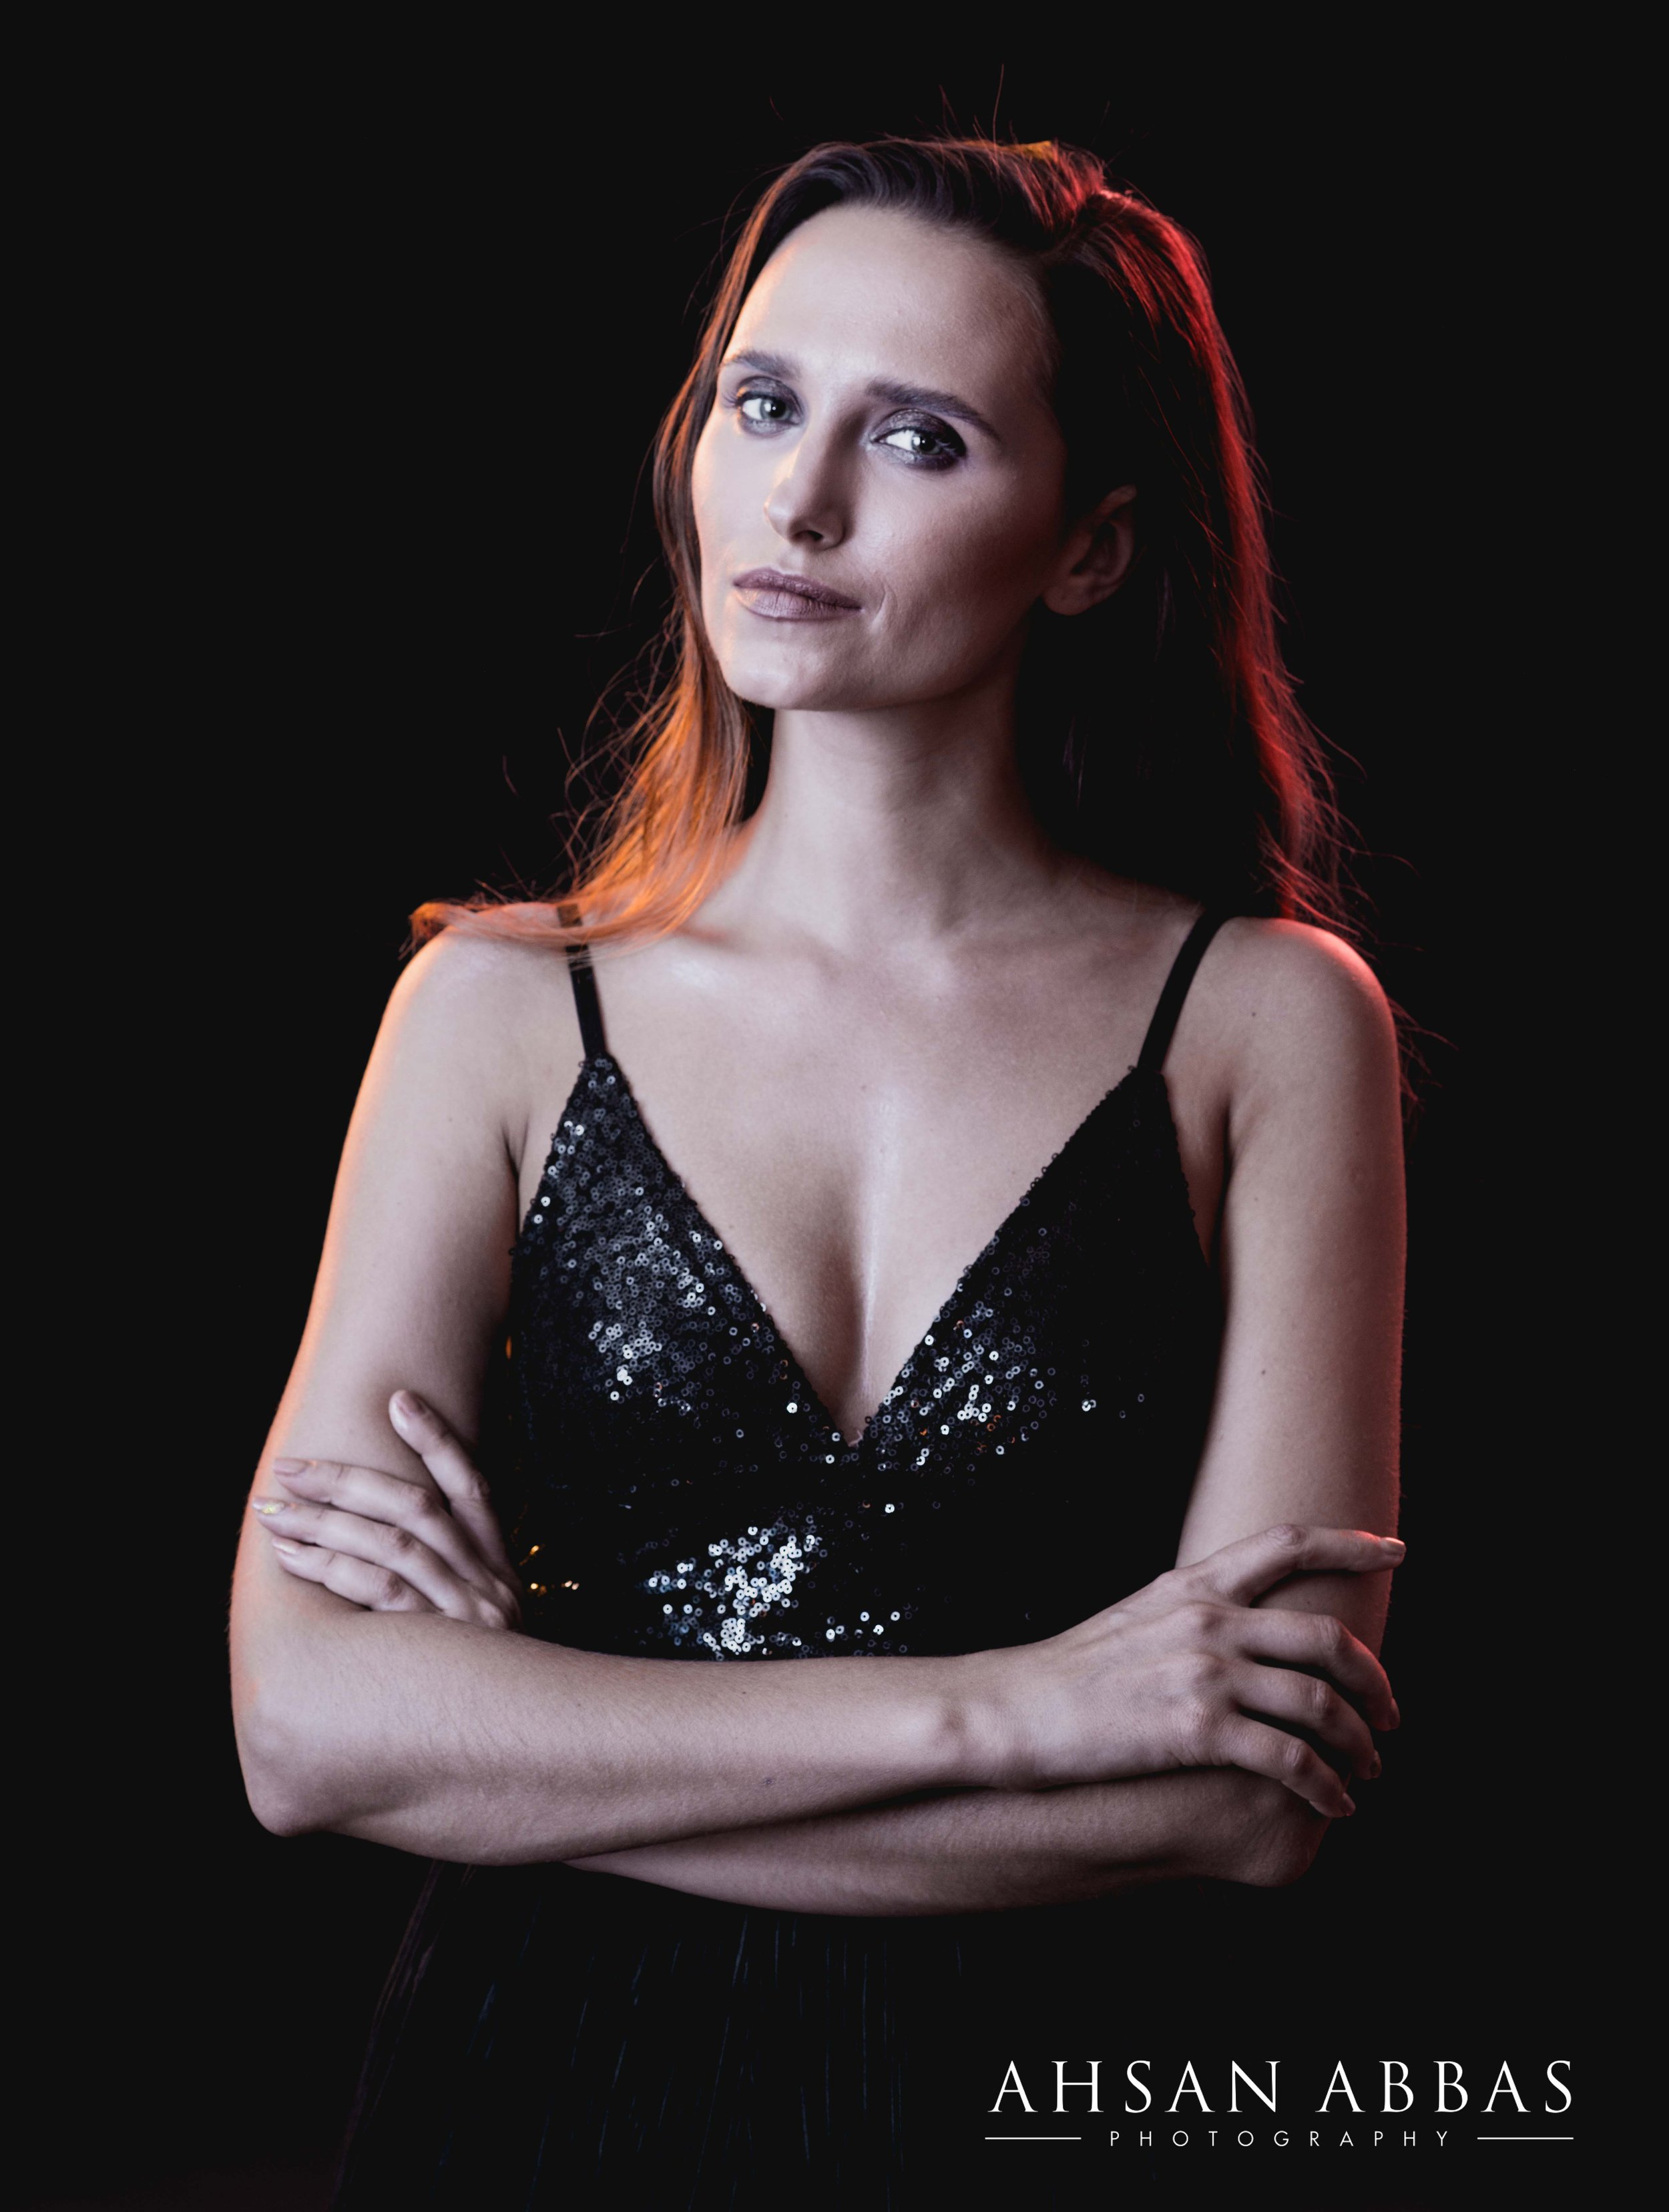
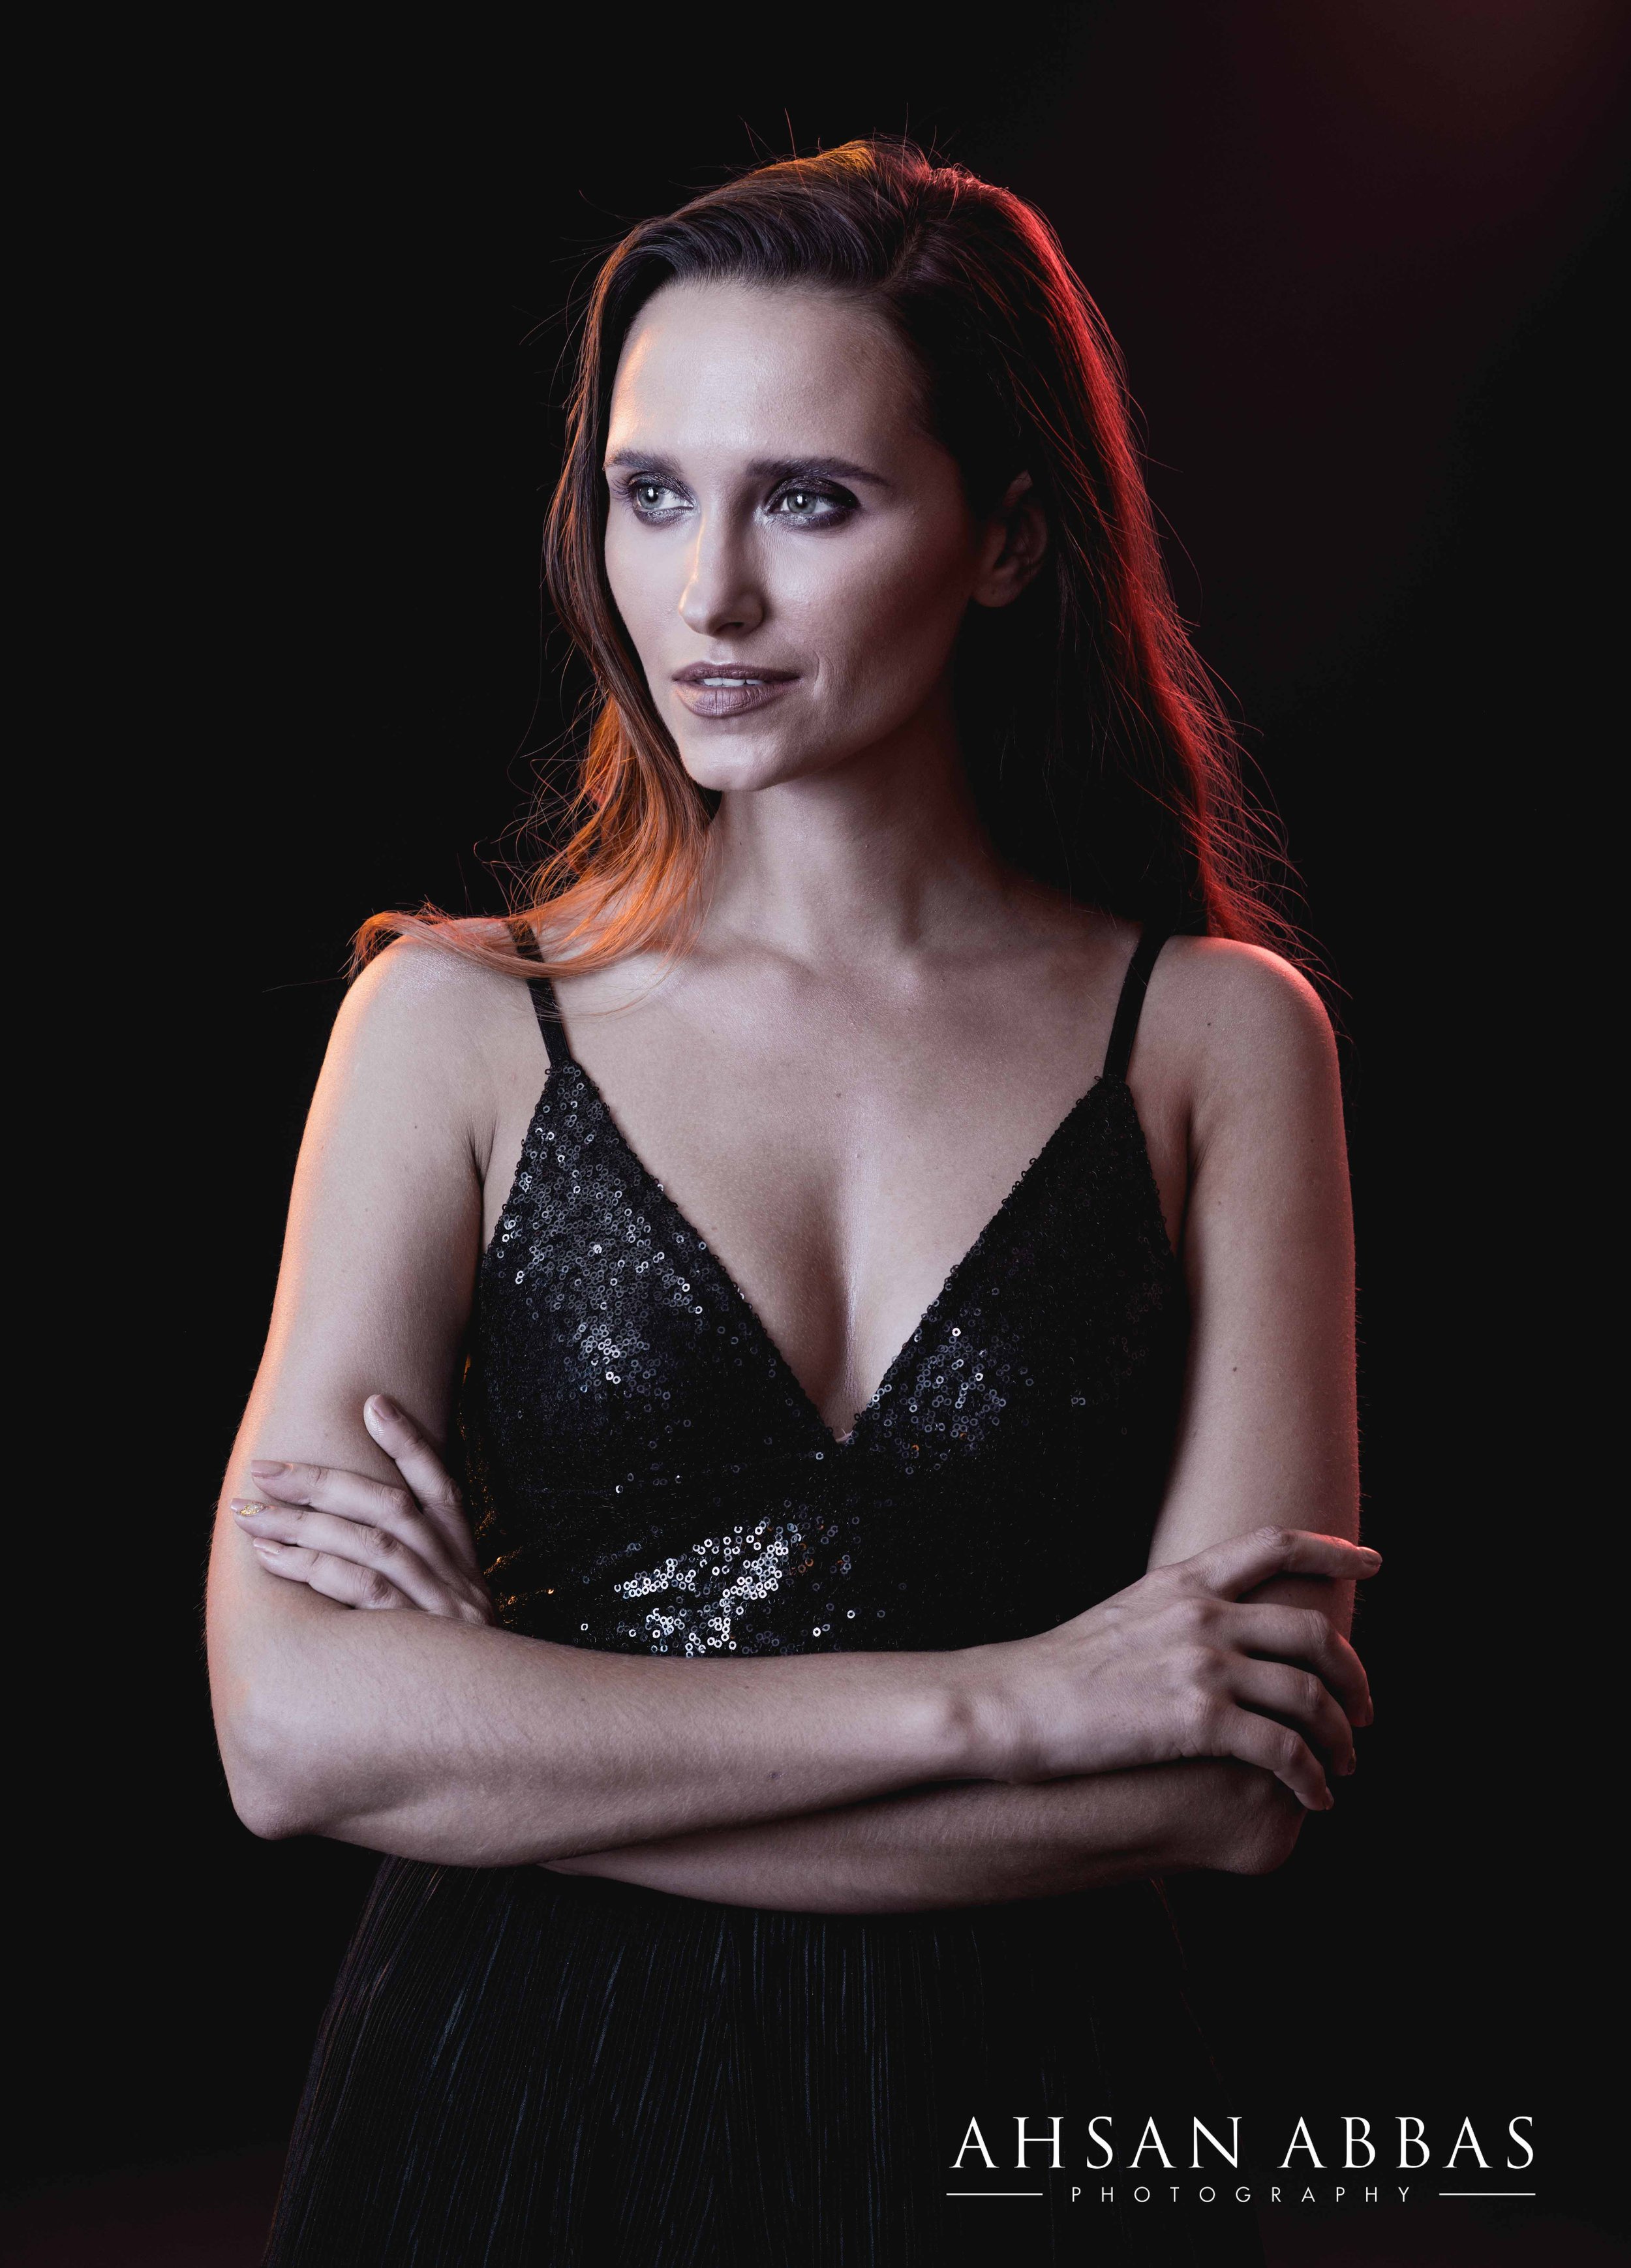
In the first edit, I like the slight blue/black tinge to the background and the warm textured face. There is a healthy glow and it communicates comfort and vitality. 

The second edit is a more real life representation of the textures and tones. The hair and skin tones in particular, the light falling further off from the back of the head. The image communicates a sense of confidence and assuredness. In contrast to the first image, which is a bit more moodier and a little more mysterious. 

The black and white iteration is one that works very well. The clarity of the image, soft textures and tones on a hard black background communicate and a soft yet authentic authority. 

Taking headshots is in itself artwork. You have to be very cognizant of clients background, the purpose of the shoot and how potential viewers will perceive them A photographers job is getting to know them as quickly and as rapidly as possible. An image that truly reflects the needs of the client is often set by the tone and communication between his or her photographer. 

All these images were shot on a Nikon D800, 85mm f/1.4 lens. The ISO was set to 200, aperture to f/8.0 and shutter speed 1/100sec.  All edits were completed in Adobe Lightroom 2022. 

You can learn more about my wider photographic work by subscribing to my YouTube Channel. See you on there!

Street Fashion Shoot With My Fuji GSWiii

I have just had my Fuji GSWiii sit at home waiting for that perfect chance to shoot some landscape images on film. Knowing myself, I figured I would have to create an opportunity! 

With only 8 frames to each roll of film, the 6 by 9 film size is incredible to view, especially on colour positive film.  I parked my trusted Bronica Zenza ETRS and decided to get out and use this camera more this summer. 

This particular GSWiii comes with a 65mm lens which I believe is equivalent to a 28mm lens on a 35mm camera. 

First shoot opportunity came from a shoot setup with Anna. She was in the country and we set up a shoot in Central London late one afternoon. 

I threw in a whole bunch of medium format rolls into my bag and over the next few hours we shot natural light as well as with my wonderful profoto umbrella and profoto A1. 

Shooting Fuji Provia 100F in Natural Light

We started off by shooting on the colour positive film Provia 100F. It was a late afternoon shoot, hence why I brought along my off camera flash. These images were all taken using natural light. 

I really like this image of Anna in her chequered jacket and blue jeans looking over in the distance. 

The colours came out natural to the eye which I was really surprised to see considering the relatively low level light available at the time. 

The details are captured in this frame with Anna resting one leg down while resting her head gently against her left hand. 

The details in the jeans combined with the reds and yellows in the fore and background add more energy to the image. 

The highlights are perhaps a little overexposed but something that can be managed in a future shoot in camera or in post production! 

Going in a bit closer, once again the colour and detail of the 6 by 9 negative has really come out super well. 

This image of her holding the rose, combined with the red seat and red lipstick draw in the line of sight making it a compositionally attractive image to view. 

This combined with how her arms make an almost symmetrical look on either side in reflection to the legs.

I took another image of her standing up with the rose and framed this one up. I think these more close up portrait shots could be the way to go! 

Ending this set I took this shot which is a little out of focus but I really like the effect and emotion coming through the image and this is definitely one of my favourite shots from the Provia batch! 

Kodak Ektachrome in Natural Light

Well, If I was going to shoot some Provia, I was going to have to shoot some Ektachrome to see the differences in colour. 

Unlike the Bronica unfortunately you don't have the luxury of swapping film backs to capture identical images but I tried my best to keep the frames similar in nature throughout. 

Starting off with this shot, the colours are a bit more subdued but nevertheless deliver outstanding colour rendition. 

Part of the ability to shoot well with subjects comes down to how well you both come prepared to shoot. Certainly Anna, turned up with the perfect outfits for a befitting urban location shoot.

As before I took a combination of closer shots combined with wider shots to see the differences between the images. The consistent theme throughout is the more subdued colour rendition. 

I think, in part, maybe there were clouds passing through in comparison to the stronger light experienced when shooting the Provia roll. 

Nevertheless, you can see the film doesn’t perform as strongly in the shadows. Overall, pleased with this batch of images and my personal favourite was this shot of Anna with her arms crossed holding her jacket. 

Shooting Kodak Gold 200

Kodak Gold has made a comeback to medium format and it has been great to see so many photographers getting out and shooting this film. 

Carrying on with the same outfit and vibe, I decided to shoot some in a different location to catch a bit more of the afternoon sunset. 

This time a combination of natural light which has come out with much warmer tones and then brought in the umbrella and profoto to capture these shots with a little bit more controlled light. 

The colour is better balanced particularly with the wonderful warm sunset light radiating off the back of the Victorian buildings. Bit of a New York vibe, no?

Shooting Kodak Portra 800 with Flash

It was twilight and having these tall buildings surrounding us didnt help too much with the light either. It is somewhat fitting that for a camera that I have not shot much with I was reminded to take out some of that Portra 800 that had been knocking about in my film stash from quite a way back. 

I wasn’t going to waste this roll on the hope the images would come out by shooting this pushed 1 stop, let alone 3 stops. All these images were taken having metered using my Sekonic L-308X with the umbrella and profoto a1. 

Shot with this brick backdrop first, trying to capture some variation in styles from Anna. I like the one with Anna sat on the curb out of this mini set. We moved on to take a few with this black backdrop which I think has colourwise come out much stronger. 

When I first saw this on the film strip it looked as if the image had been taken with a greenscreen backdrop applied. 

In hindsight, I was beginning to think how different these images would look had they been shot on Portra 160 or Portra 400. Personally, I don't think it would be very different. What do you think? 

Important Considerations Shooting with Fuji GSWiii

If you are looking to shoot with this wonderful rangefinder camera here are my thoughts on some things you should consider before shooting away. 

First, if you are shooting portraits you have got to make sure you measure the distances between yourself and the subject accurately. 

If you have wonderful 20:20 vision then you might be thinking, wait why can't you just use the rangefinder optics? 

This can be a bit tricky for me and I suspect probably for many others that may have particular eye conditions. 

Easiest way to get around this is to measure the distances. Honestly this will save you a lot of lost frames. 

This particular Fuji comes with a fixed 65mm and if you enjoy shooting street photography could be a fun companion with its 28mm 35mm camera equivalent lens. 

Although primarily known for landscape photography, the  Fuji GSWiii has the potential to give photographers new creative opportunities in portrait photography.  

It got me thinking, are modern digital cameras up to the level of old school medium format cameras? 

I’m not sure, but it could be a fun experiment! Do you have experience with this? Let me know in the comments below. 

Overall, I feel the closer I was shooting to Anna, the richer the details in each of the frames. Images with natural light use of off camera flash came out super well. 

With more shoots I will slowly find my preference, Let’s see where this takes me next! 

Want to stay in the loop with what I am up to and my work? Then keep checking up on my journal here so you’ll never miss a moment!

I got inspiration from Dorothea Lange to create these images

I remember taking this picture to test out how the dark blue gel would look on camera. 

More recently when I came back to review this from a fresh perspective, it reminded me of Dorothea Lange's iconic shot of the migrant woman with her child. 

I cropped up the image and started having a play. At first I was thinking, why not take some inspiration from Andy Worhol and play around with pop  colours. Here are some outcomes from some playful edits in Adobe Lightroom. 

Mona Lisa, that image popped into my head, Elina’s expression is almost a replica. Only if she had been turned a little more to her right and her hand gently resting over her other. However, as a viewer you could be standing at different angles and perceive her to be looking at you!

Unfortunately, I was not going to get much natural colour out of this image to attempt to replicate the famous painting so back to Dorothea Lange’s portrait. 

Original Image using Blue Gel and Nikon D800

‘Pop Look’

Lange’s original image was black and white, so naturally I decided to start playing around with different black and white filters on Adobe Lightroom. Here are the results from that test. With the blue filter in place the image was much brighter but far too contrasty in comparison to Lange’s work. 

After a slight exposure adjustment and dehazing of the image I came to this outcome. I like the sharp contrasting metallic look and feel of the image. I didn’t do any retouching of the image keeping in mind Lange’s iconic authentic capture. 

After benching the image for a while, I came to look at it from a fresh perspective. Looking back at early 18th century cyanotypes, I wondered if I could recreate the same look with this image due to the strong overcast of blue from the gel. 

‘Cyanotype Look’

‘Wet Plate Collodion Look’

To get this cyanotype lookalike I increased the exposure, shadows while reducing the highlights and whites from the image. A little bit of dehazing and some reduction in saturation led to this outcome which was quite pleasing. 

Wet plate collodion photography is fascinating to watch being done right in front of you. Thanks to the digital era one doesn’t need to spend too much time getting all the materials required to recreate an attempted look in Lightroom.

Final Image edited in Adobe Lightroom 2022

To create this image I flipped the image in to black and white and for good measure added in some fine grain. 

All these images were shot on a Nikon D800, 85mm f/1.4 lens. The ISO was set to 100, aperture to f/4.0 and shutter speed 1/100sec.  

You can learn more about my wider photographic work by subscribing to my YouTube Channel. See you on there!


The Remains of the Day by Kazuo Ishiguro

Just finished reading this 1989 Booker Prize winning book about a long-serving butler of Darlington Hall.

The story is based on Steven’s reflections of his 30+ year career as butler as he embarks on a leisurely holiday in to the countryside.

Ultimately, a reflection on his life in the context of a country that has changed quickly within a few decades, Steven is left wondering sticking to ideals such as dignity and properness were worth sticking to or whether he had followed an illusion.

‘After all, what can we ever gain in forever looking back and blaming ourselves if our lives have not turned out quite as we might have wished?’

Most definitely worth putting on your reading list!

Don’t enjoy reading books? (I can’t possibly imagine why!) then you can watch the 1993 film! Trailer below :)

An African In Greenland

This book had me gripped from start to finish. I came across this book after finishing reading ‘Afropean’ by Johnny Pitts, in which he cites this book as an inspiration for his work. 

I have left a link to my video review on Afropean below- you absolutely must read it. 

This true story has been written by Tete-Michel Kpomassie starting from his native homeland in Togo, West Africa. 

He came across a book on Greenland in a Missionary Bookshop and was utterly awed by a place in complete contrast to his own. 

Completely mesmerized by it, he set his intention on getting there by any means possible. 

The journey occurs over a number of years starting from the country’s independence on April 27, 1960 through several countries across West Africa. 

He finally reaches France before staying for a short while with a connection he had made while working in consular services. 

I won’t go into too much detail here but I’m not sure if it is still possible to simply turn up at someone's door without any notice. 

I digress, the journey takes him across to Germany and in to Denmark before he finally sets off for Greenland. He would be the first African in Greenland and the natives were in awe of his visit to them. His travels takes him around treacherously cold and inhospitable regions of Greenland with his basic film camera. 

He shares some of his black and white images, I presume taken on a Zeiss Ikon Nettar with Medium Format Film. The images give us an insight in to the challenges of living in such conditions combined with his descriptions of daily life give a rich experience to any reader who has not ventured in to such far flung places. 

I am grateful to Johnny for having cited this book. The book takes you through highs and lows, the perils of journeying with small and little means. Ultimately the book is really about resilience, fortitude and Tete’s unflinching desire to reach his dream. Regardless of your circumstances with grit, hard work and determination you too can reach your goals and dreams. This book has been a renewal of inspiration for me as I hope it will be for you too. 

You can learn about how to become a better photographer, learn film photography and much more on my YouTube Channel! See you there!

Quickly Remove Stray Hair In Photoshop 2022

Lots of stray hair in your portraits? Tired of taking it out bit by bit and then get put off and dont return back to your work? In this blog post I will show you how you can quickly edit you portraits. 

I am using Photoshop 2022 for this edit, however, it doesn’t matter which edition you are using because these tools haven’t changed much over the years. 

Finished Edit in Photoshop 2022

  1. Open your image in Photoshop, right click in Lightroom 

  2. In Photoshop create a ‘Background Copy’ of the image

  3. Select the Quick Mask Tool

  4. Flip to Black over White

  5. Select the ‘Paint Brush’ tool. Make sure the Soft Brush tool is selected

  6. Make the ‘Brush’ size as large as needed to cover the subject

  7. Turn the ‘Hardness’ of the Paint Brush to 85%

  8. Mask the desired area - it should colour pinkish red 

  9. When chosen area has been masked move on to next step

  10. Select the ‘Clone Stamp’ tool 

  11. Change the ‘Size’ to 300px and the ‘Hardness’ to 0. 

  12. Flip From White to Black

  13. Choose an area for cloning by holding down CMD or CTRL and then click on the desired area

  14. Now using the ‘Clone Stamp’ tool gently paint over the areas outside the dotted lines

  15. Keep adjusting the area being cloned closer to where the area is being painted over. This stops random cloning that disfigures your image!

  16. When finished, go to ‘Select’ and click ‘Deselect’ 

  17. Save your image! 

Well done, the whole process should take less than 4 minutes and with time your speed and efficiency will improve to reduce this time further. 

Here are some before and after shots. 

Before the edit, in Lightroom

After Editing in Photoshop 2022

I love how these images came out from the moment I saw them on the back of my camera. Take the time to keep reviewing and tinkering with different poses and looks. 

All these images were shot on a Nikon D800, 85mm f/1.4 lens. A blue gel was using from the left hand side of Elina. A red gel was using from the right! 

You can learn more about shooting fashion and portraits on my YouTube Channel. See you on there!


6 Top Tips on Shooting Bold Portraits with Gels

Shot on Nikon D800, ISO 100, f5.6, 1/100sec

Working with Gels can be a little overwhelming when starting at first. 

Such is the process that everyone goes through regardless of what task or assignment they are working on. 

The setup for this gel shoot was a simple three light setup. The coloured gels were red on the left of Elina and orange on the right of her shoulder. 

A beauty dish was angled slightly to the right to create a perfect triangle on her left cheek with the shadow dropping off. 

With such dramatic portraits, there are plenty of things to keep in mind before you start shooting. 


6 Top Tips on Shooting Bold Portraits with Gels

Shot on Nikon D800, ISO 100, f5.6, 1/100sec

  1. Communicate with your subject - getting to know them in advance can create a more chilled atmosphere and thus more authentic portraits

  2. With your theme in mind have a selection of matching outfits ready 

  3. Carrying on from point 2 - have a colour scheme in mind as this will help you style as well as communicate what you want from your make up artist (MUA)

  4. Have an MUA on hand to make sure that the images you capture a picture perfect in camera, saving considerable time in post

  5. Setup your lights in advance, have a play with them before you start shooting

  6. Master photographers always use a dedicated light meter - so use one! While most digital camera have excellent light meters on board. A dedicated one will help you meter for the exact highlights and shadows that you want in your image. A Sekonic L-308X is a good starting point. 

Shot on Nikon D800, ISO 100, f5.6, 1/100sec

I love how these images came out from the moment I saw them on the back of my camera. Take the time to keep reviewing and tinkering with different poses and looks. 

All these images were shot on a Nikon D800, 85mm f/1.4 lens.

Sometimes you may get ‘the shot’ right away, sometimes it takes a few adjustments. Be patient, communicate with your subject continuously and enjoy the process!

You can learn more about shooting fashion and portraits on my YouTube Channel. See you on there!

5 Steps For Exposure Testing

In this video I will show you how to do your own exposure testing with Kodak Gold 200, Provia 100F and Kodak Ektachrome. This will act as a guide for you whether you are shooting Medium Format or 35mm. 

5 reasons why you should exposure test your film: 

  1. If you’re a beginner film photographer this will help you understand the fundamental basis of exposure 

  2. If you want to get better scans and images 

  3. You will find the best exposure that YOU like the most at the settings you like best

  4. You may be an experienced photographer so you may want to test out some rolls and compare to previous images you have shot at different exposures. Making those little tweaks will help you to get the desired look! 

  5. How you use your light meter will affect what settings you input and therefore the results. Try and keep the processes consistent to get the most accurate results possible

Pre Shoot: Five things that you will need to take with you when shooting a test roll

  1. Your desired film camera [you can also do this on digital too!] 

  2. Your chosen film on 35mm or Medium Format

  3. A light meter 

  4. A pen

  5. A little notebook paper or notepad on your phone

On a side note, consider the location you will be shooting as well as whether you are shooting landscapes or portraits. 

Knowing as much about your location will give you a more detailed idea about the reason why the film may perform the way it does later! 

Exposure Testing on Kodak Gold

Camera: Fuji GSWiii, Kodak Gold 200, f/5.6, 1/500sec

Camera: Fuji GSWiii, Kodak Gold 200, f/5.6, 1/125sec

Camera: Fuji GSWiii, Kodak Gold 200, f/5.6, 1/8sec

I shot these images on the Fuji GSWiii which is a 6x9 medium format camera. The conditions were overcast at the time I was shooting with Lia in these London streets. 

You can see that Kodak Gold performs quite well at higher shutter speeds with a low aperture set to f5.6. 

However as the shutter speed drops below a sixtieth of a second the tonality begins to fray quite noticeably!  

Don’t Forget to Do This During The Shoot

You are at your shoot, before you take out your camera, take out your notebook/phone notepad. Write down a description of the location you are in and describe the light for your reference. 

Depending on what camera you are using, write down the number of frames you have to shoot with. In my case I was shooting on Fuji GSWiii which gives eight extremely large negatives. 

My light meter was calculated for me to shoot a f5.6 at 125sec so I set that as the midpoint base line. I then adjusted the shutter speeds to either side of that position and shot away. 

When you are doing your own exposure test, use the light meter to set your mid point baseline and depending on what camera you are using adjust either the shutter speed or aperture. Ofcourse, if you are using digital you have the additional choice to adjust the ISO if you wish! 

Exposure Testing on Provia 100F

Camera: Fuji GSWiii, Fuji Provia 100F, f/5.6, 1/250sec

Camera: Fuji GSWiii, Fuji Provia 100F, f/5.6, 1/125sec

On Provia 100F we were in a bit more of a shaded position with tall buildings on either side. The film pushes towards the shadows at 500sec and 250sec. The sweet spot in these conditions seems to be at or between 125th and 60th of a second. I should really get these printed off to see which one looks best in print to make a final judgment. 

Important Things To Consider After the Shoot 

If you are not developing or scanning the film yourself make sure to tell your lab to scan as is. Otherwise they will calibrate the scans for each frame and you won’t know how the film actually performs at different settings. 

Camera: Fuji GSWiii, Fuji Provia 100F, f/5.6, 1/60sec

After the scanning your film negatives or positives

Look carefully at your negatives. Each frame needs to be reviewed carefully and you may want to use a magnifying eye loupe to get that extra closeup. 

Regardless of whether you are exposure testing or not you are looking for three key things in film negatives:

  1. You have well-balanced range of tonalities from the highlights to the shadows;

  2. There is a good level and structure of grain; and

  3. Thirdly, there is an absence of damage and defects.

For the purposes of exposure testing pay attention to the first two. 

As a rule of thumb, you should print your photos. This will help you to see how the images look physically in comparison to on screen. 

Your images will look different on your phone or on your computer. Each time the colors will render differently. 

Side note: This rule applies in both digital and analog. There have been many times when I have shot on both mediums and found the color and contrast looks different in print compared to on screen. 

Ultimately doing this will help you understand what your image really looks like and help you choose more accurately your perfect ‘image’ or ‘look’ 

Exposure Testing on Kodak Ektachrome 

Camera: Fuji GSWiii, Kodak Ektachrome E100, f/5.6, 1/125sec

Camera: Fuji GSWiii, Kodak Ektachrome E100, f/5.6, 1/60sec

Camera: Fuji GSWiii, Kodak Ektachrome E100, f/5.6, 1/30sec

With Kodak Ektachrome the shadows are even more prominent than the Provia albeit I have changed locations so its not a like for like comparison. However once again performs quite well at 125th and 60th of second. The push towards the highlights at a 60th of a second adds a but more of a dreamy look, however, printing these two off to see them comparatively would be the best thing to do! 

This Is How You Can Setup Your Exposure Testing

In this video, I have shown you how to set up your own exposure test for film photography. You can cross apply this for digital photography too, just remember to print your images off. 

I have learned how slide and negative films perform in low light conditions with a wide aperture setting and faster shutter speeds. 

Having said that the results may be different if shooting in sunny sixteen which is not common here in the UK but if an opportunity presents itself I may take it up!

If you want to see more detailed images hit my journal at ahsanabbas.com  

Let me know if you have any questions about exposure testing in the comments below, punch the subscribe button and watch my last drop right here.